First Project: Spider-Man Web Shooter With Jack Passman and Nate Aronstein
Background

Every kid wants to be Spider-man, and the main reason for that is his web shooters. We wanted to recreate the feeling of shooting a web while making the classic Spider-man hand move, 🤟. We knew we wouldn't be able to swing from whatever material we used from the web, but we stll thought it would be cool to shoot some material from your hand like Spider- man with just the move of your fingers.
Design Proposal
This contains the objective for this project as well as the design sketch
Criteria
Materials List
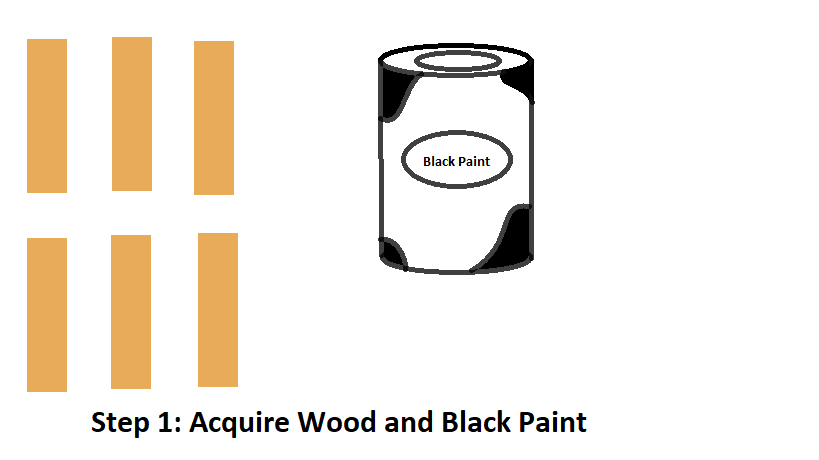
This is the materials list for our project
Gantt Chart
This chart indicates our projected timeline for this project
Web-Shooter Creation
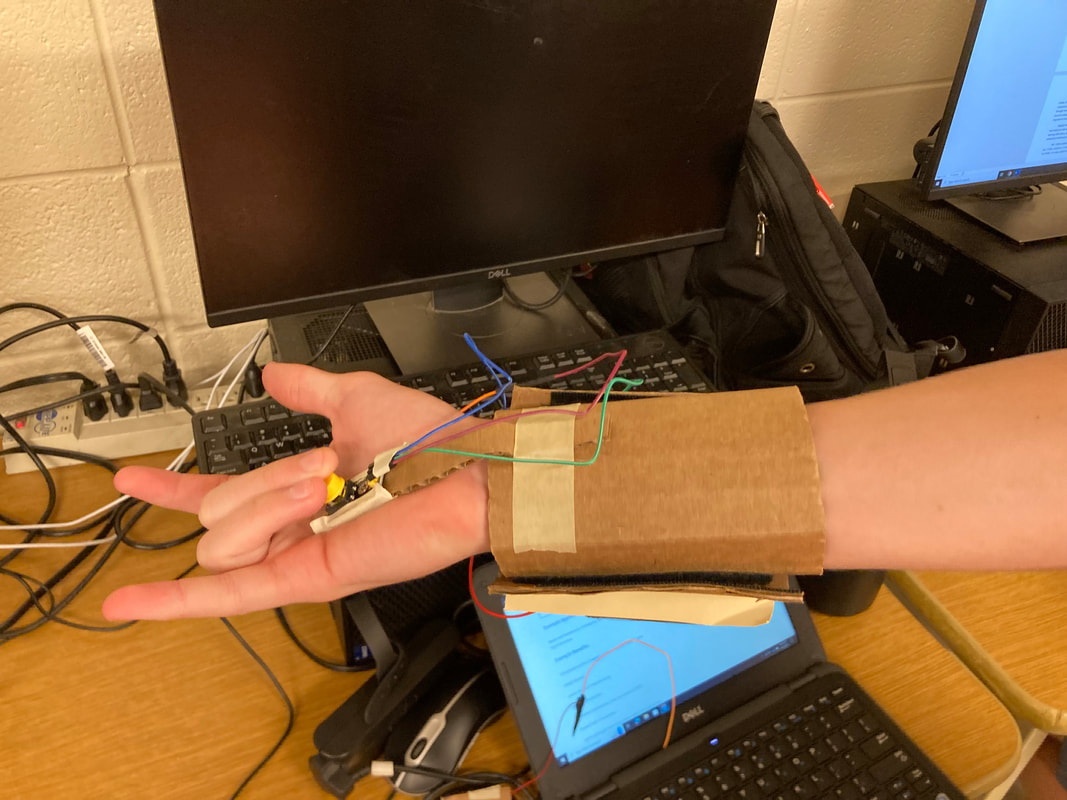
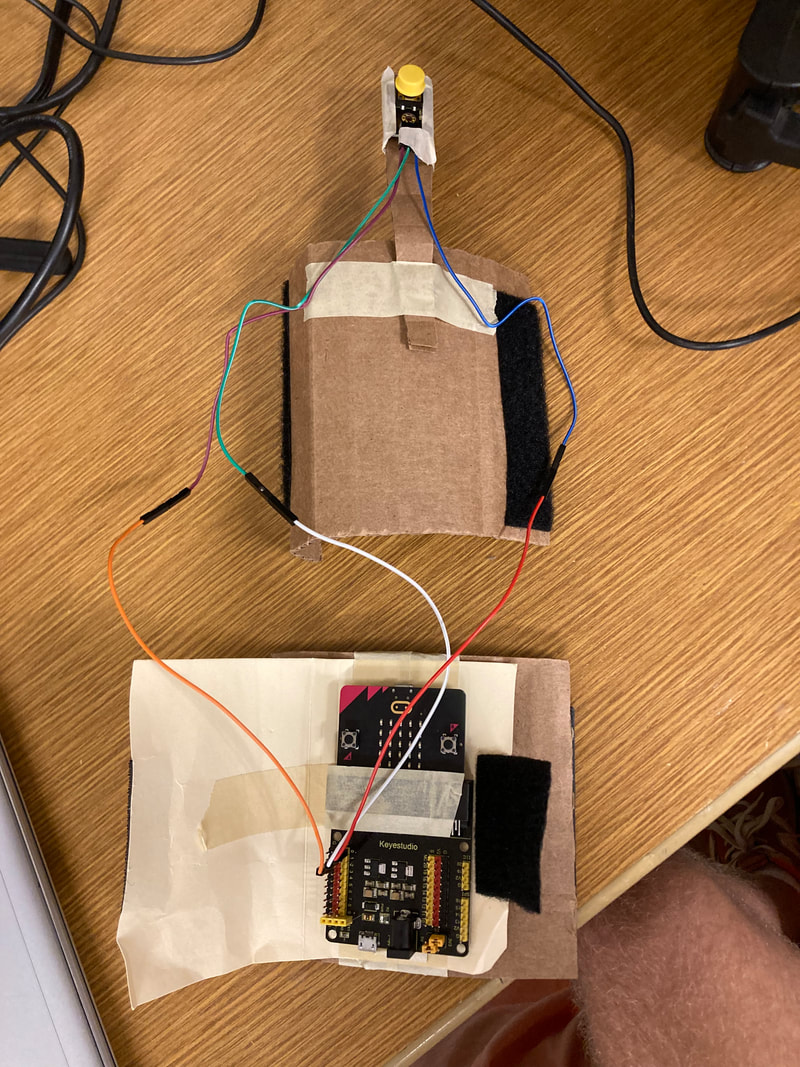
To start we created the cardboard arm bracer frame. The frame is made up of three distinct pieces: the front of the arm, the back of the arm, and the button appendage pieces. Each one was measured and cut with an exact knife. The pieces were then fit with velcro to allow for easy take on and take off. Then we created a shell to protect the micro bit and wired it into the launch button.
|
|
Decision Matrix
Using the above decision matrix we used to decide between a slingshot, dual motor, and spring release mechanism. We compared the cost, complexity to build, accuracy when shooting, and power when shooting. After comparing these elements, the S.N.A.C.K. team decided on the rubber band-powered slingshot/catapult mechanism.
After we determined the best launcher mechanism was a slinshot, we began work on the mechanism, using rubber bands with a pin release that would eventually be held and moved out of place by a servo. We first created a "runway" or groove that the sticky dart would sit in and created the launcher using rubber bands and popsicle sticks to push the dart.
After testing the launcher mechanism we began to run into many problems. We discovered that the mechanism would not send the dart very far and its aim was uncontrollable. As well as the fact that it was bulkier than originally planned and hard to reset. For these reasons, we have decided to leave this project at a functional but not perfect level and move on to our next project: a trophy shelf for Circuit Runners Robotics.
After testing the launcher mechanism we began to run into many problems. We discovered that the mechanism would not send the dart very far and its aim was uncontrollable. As well as the fact that it was bulkier than originally planned and hard to reset. For these reasons, we have decided to leave this project at a functional but not perfect level and move on to our next project: a trophy shelf for Circuit Runners Robotics.
Lessons Learned Log
Project 2: Circuit Runners Trophy Case
The goal of this project is to create a trophy shelf for the Wheeler Circuit Runners team based on specifications from them. The trophy shelf should be 91" tall, 105"-110" long, and 8" thick. A design sketch is shown in the Proposal document. We hope to finish this project before the end of the semester.
Project Proposal
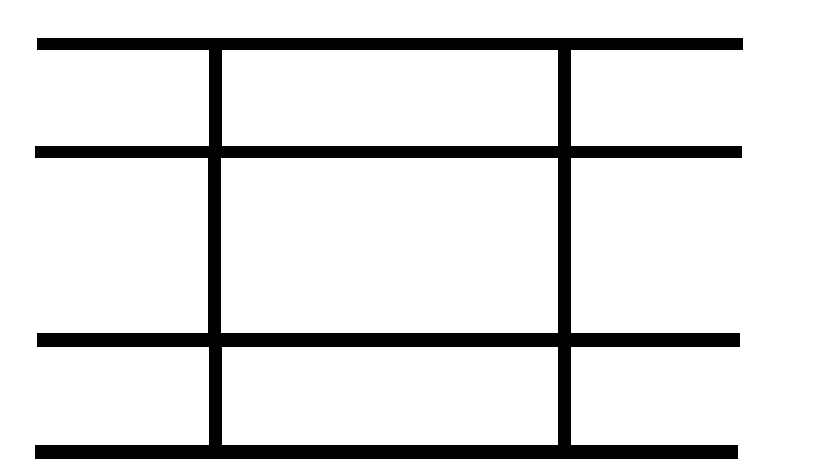
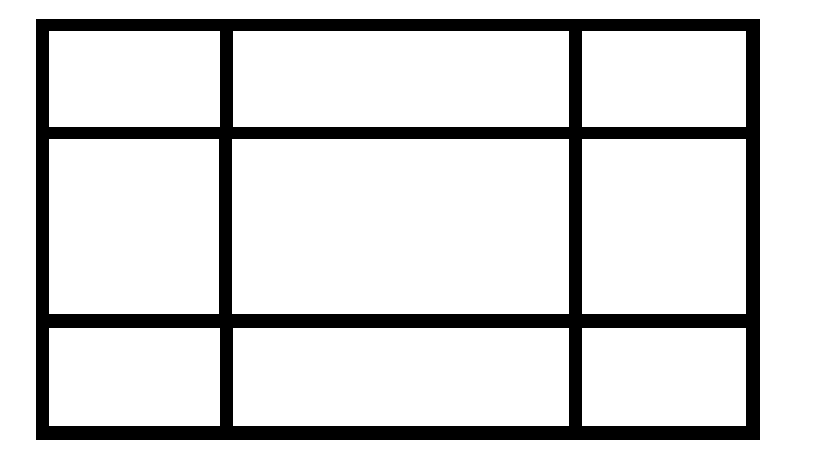
This describes the required dimensions of the shelf. It needs to be 91" tall, 105"-110" wide, and 8" thick. It needs 3 shelves on the inside and it needs to hold as many trophies as possible.
Materials List
This details all the materials that need to be purchased by CircuitRunners for the trophy case and the materials that are already in the classroom
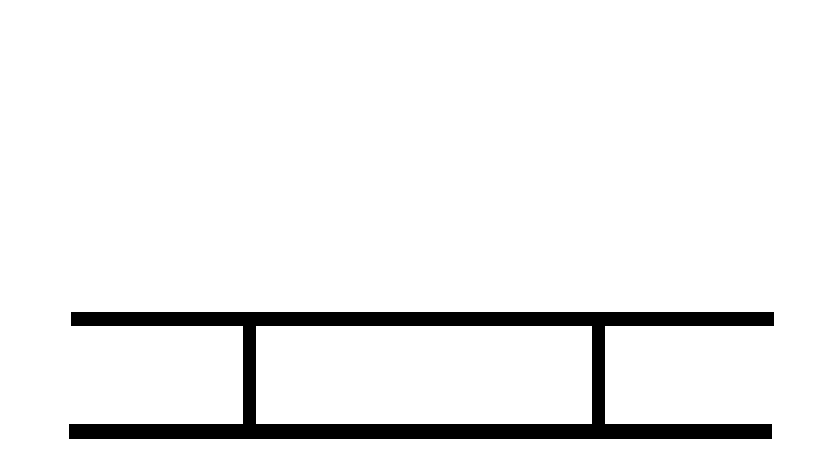
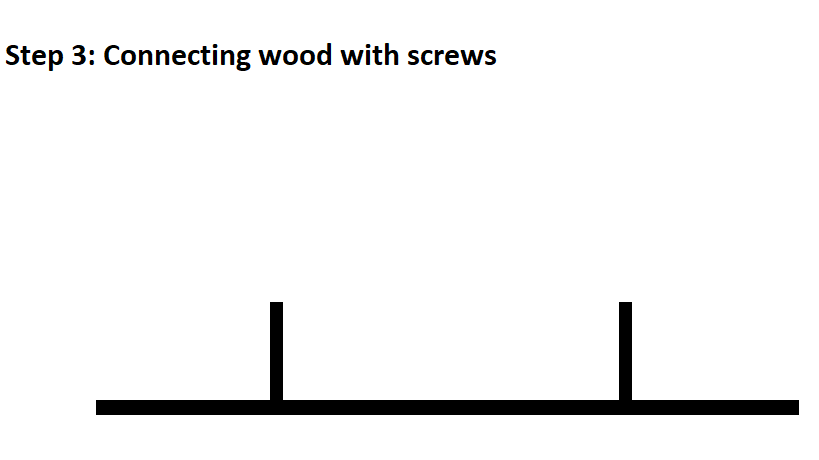
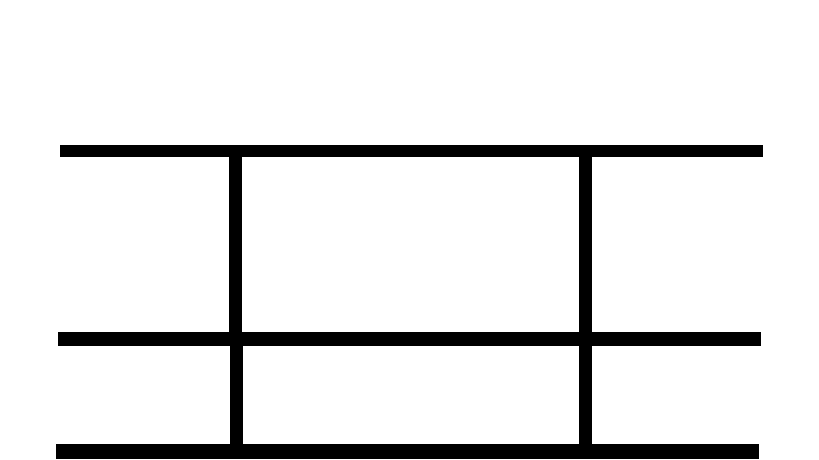
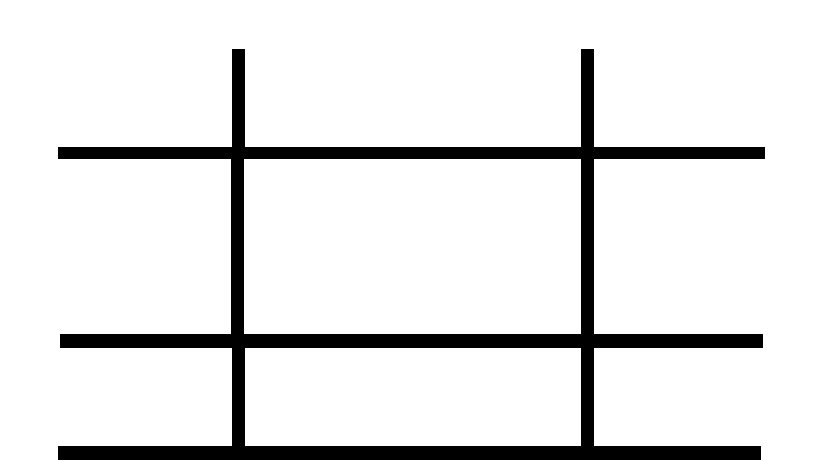
Creation Steps
|


|
|
At this point, the case must be moved from the engineering room to it's final location in the CircuitRunners building because if we don't move it, it won't be able to fit through doors.
|
|
|
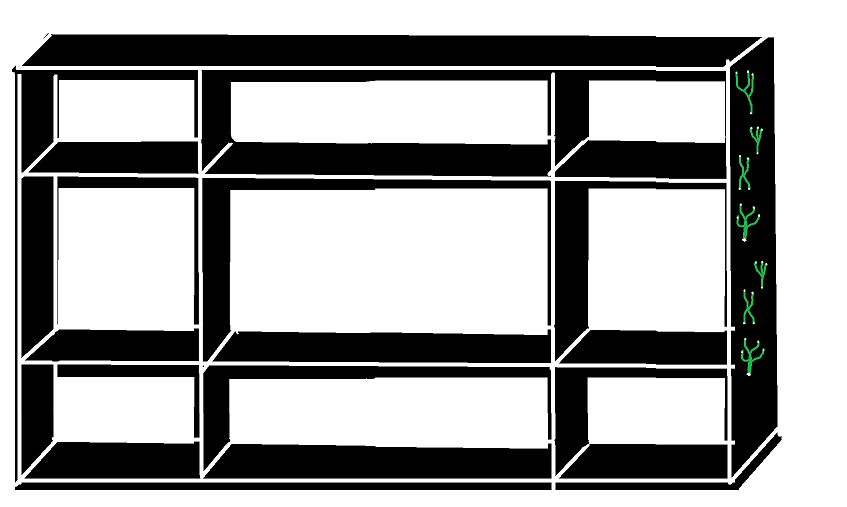
Final Step: painting green CircuitRunners circuits on the side using a stencil and green paint
Project Modification
Unfortunately, as this semester comes to an end, we realized that although we will be able to completely assemble the trophy shelf, we will not have time to paint the wood. Although it will still be very sturdy and accomplish the task which was set by Circuit Runners, it will unfourtunately not look quite as good as we initially hoped
Creation
|
To begin the process, we marked the wood for the right length and then used the miter saw to cut it. However, the miter saw didn't cut all the way through the wood and we had to use a circular saw to cut all the way through the wood. Because it didn't cut perfectly, we used a belt sander to completely sand the wood to a flat surface. We then began attatching the wood. We used a small drill bit for the pilot holes, then used a big drll bit to make the screws start further into the wood in order to make the screws dig deeper in the wood, and therefore strengthen the bond between each piece of wood.
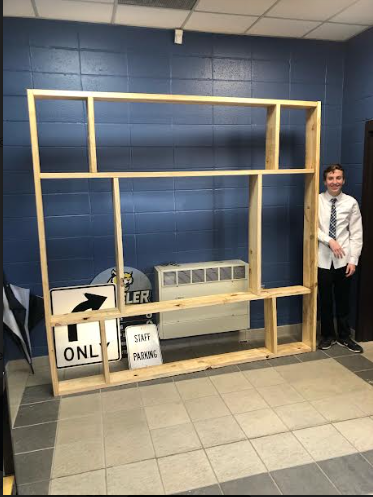
Because the final shelf would be too big to fit through doors, we assembled the first sections in the engineering classroom, then moved it to the circuit runners building to finish assembling the entire shelf. 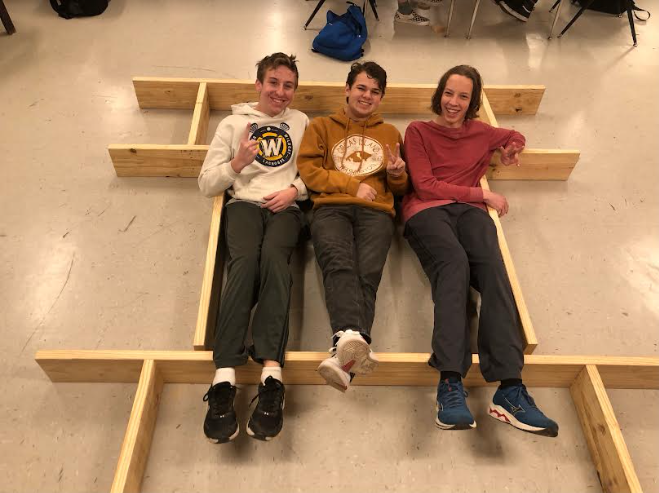
|
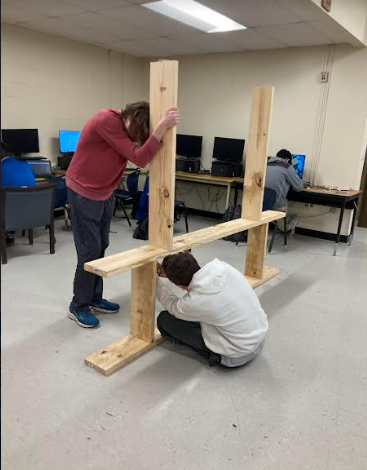
Final ResolutionAt the end of the semester, December 18th, the final trophy shelf is fully assembled other than one piece. The only piece not attached is the piece that I am leaning against in the picture below. While we did not quite finish the project by the end of the class, we do plan to finish attaching the last piece next semester. The final project is over 7 feet tall and 8 feet long, a massive project when seen in person, and we are very happy with how sturdy it is. Over the course of the project, we had to deal with many unforseen issues such as having to wait for the wood to arrive, having to use a circular saw and belt sander because the miter saw didn't cut all the way through, and having to wait for screws that were long enough to attach the wood together. Because of these reasons, we didn't have enough time to completely finish the project this semester, potentially other engineering students or Circuit Runner members can paint the trophy shelf after the final piece is attached.
|