First Student Project: Foldable Poker Table
Sam Cary, Parker Allen, Marcos Freitas
Project Goal |
Project Background |
|
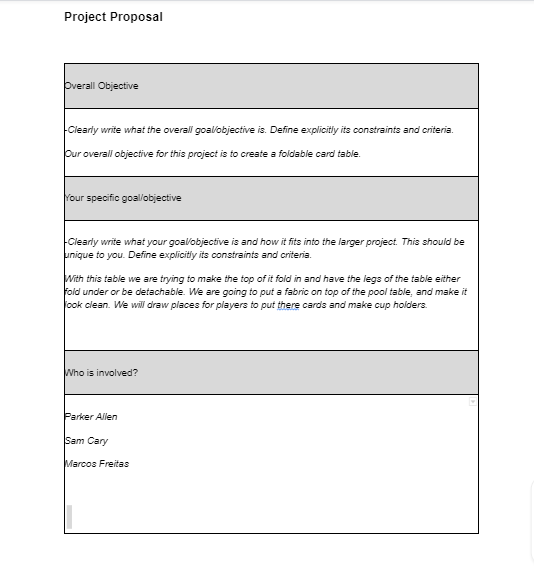
Our goal for this project is to make a poker table that can fold in and conserve space
|
We have been playing cards together since 7th grade at lunch, and in this class, we wanted to build a table to continue to play cards on, but since their isn't tons of space for a table, we decided to make it foldable
|
Project Constraints |
Because there was only one CNC for the entire class, if someone else was using it, we could not, which slowed us down considerately because once we got to cutting pockets in the table we had no choice but to wait for othe people to use the CNC.
Design Proposal
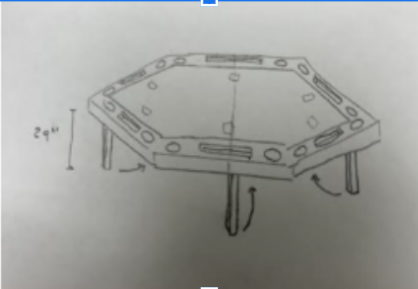
Design SketchThis is what we hoped our table will look like
|
For this project, we are going to cut holes in the bottom of a flat wooden tabletop and attatch hinges there to connect legs which can fold up inside of the table. To finish, we will staple a felt on the top of the table to give it a good finish. The final result should be a nice poker table with room for at least 6 people but can also fold up and be stored easily.
|
Gantt Chart for First Student Project
This is an estimate of the timeline of our project.
Decision Matrix For First Student Project |
This is the way we decided on the technique we would use to cut the holes in the bottom of the table
Materials List |
This is a list of all the materials we needed for this project and if they were already in the classroom or if we had to buy them
Progress So Far
|
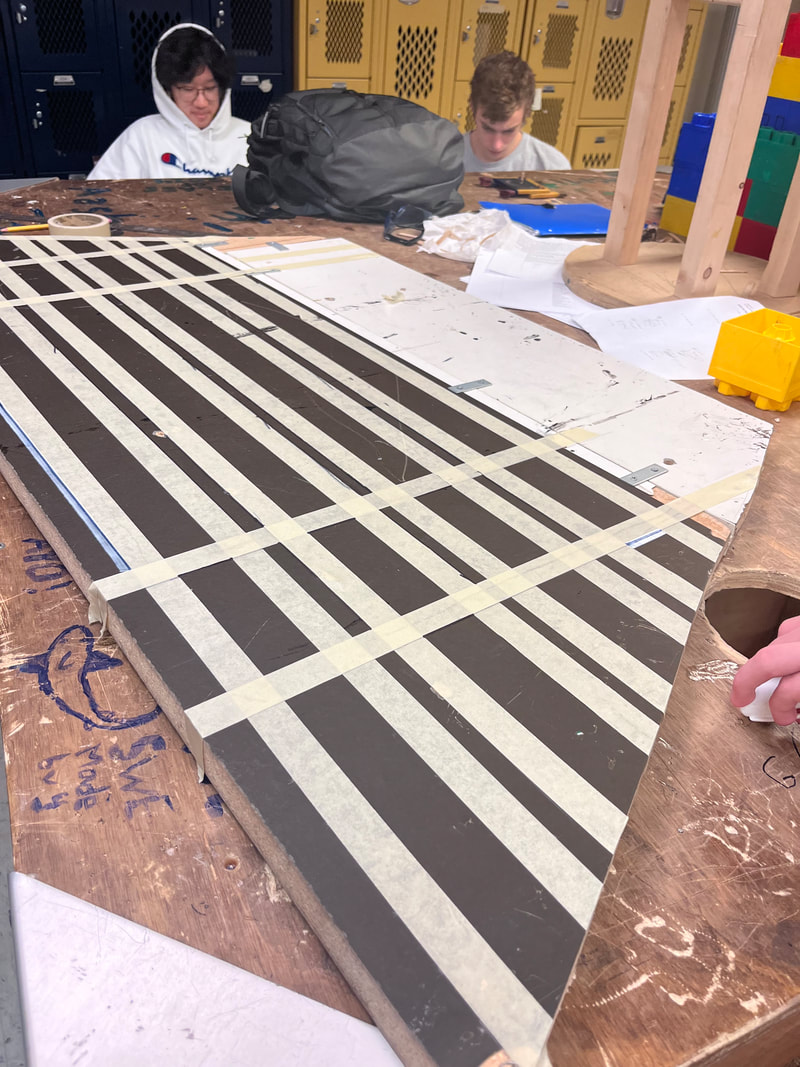
We measured precisely where we wanted the holes to go and then used tape to mark the line then traced it with a paint pen.
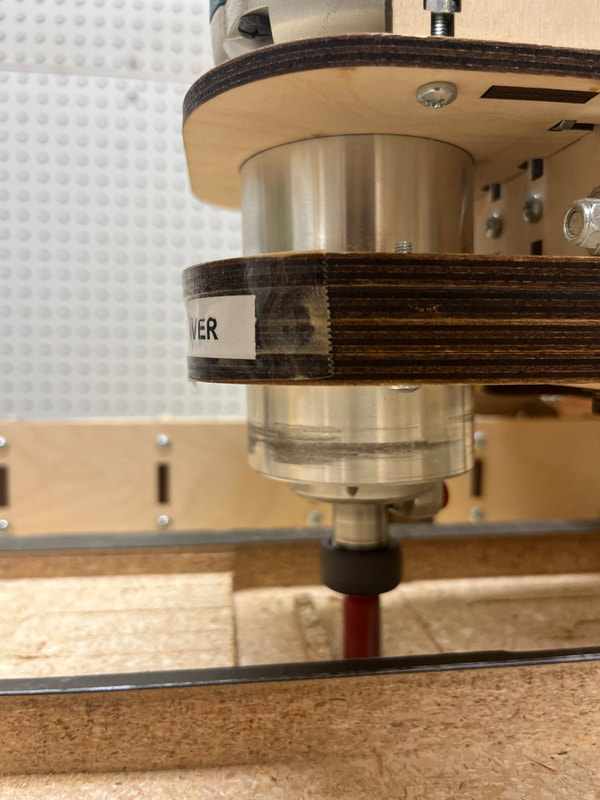
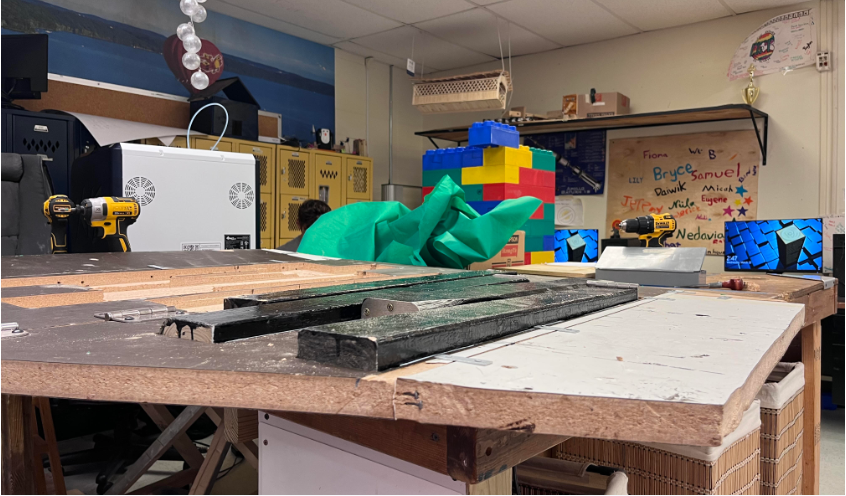
This is the CNC we used to cut the table
|
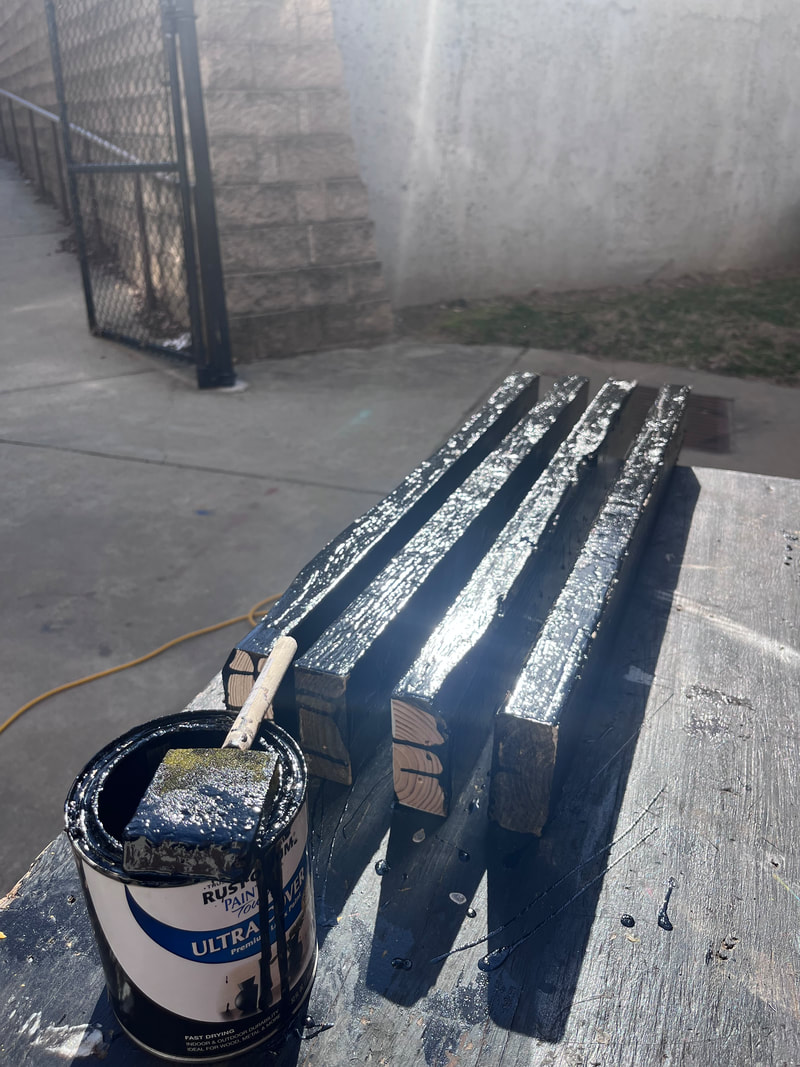
While we marked the table and used the CNC, we were painting the legs every day.
|
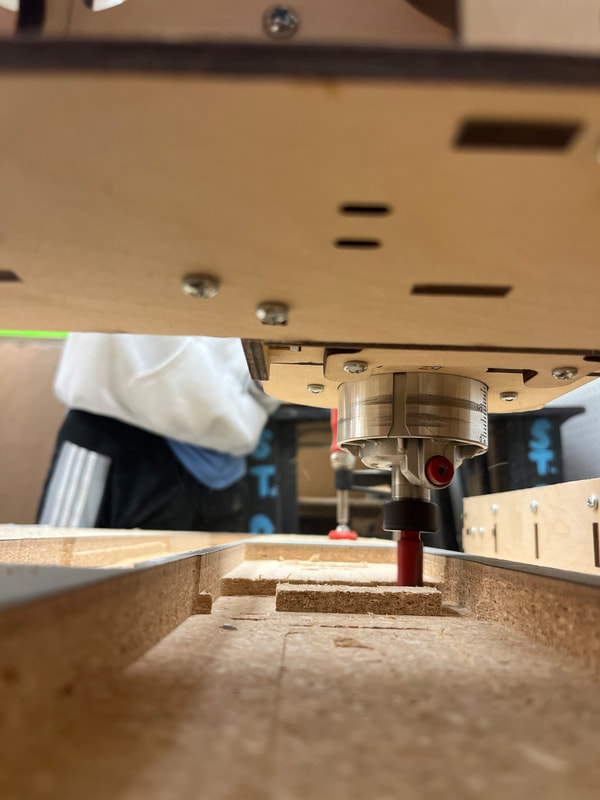
We manually operated the CNC to cut the holes on the table. One person operted the CNC while someone else directed them.

|
What's Next
After we finish CNCing the pockets in the tables, which hopefully doesn't take much longer, all we have to do is staple the felt onto the table and attatch the legs by screwing them into the pockets that we are CNCing right now.
Testing
Once we finally finish, we will test the table by folding and unfolding it a couple times to make sure it's sturdy, then leaving it standing while playing a poker game on it to make sure the legs will hold the table while some weight is applied and without ever breaking.
Lessons Learned
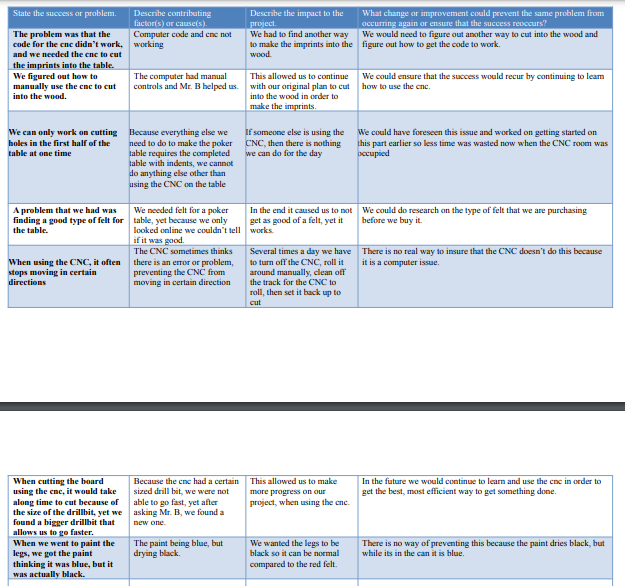
This is a table of the different problems and general experiences we had while building the table and what we learned while making it.
Continued Work
We worked for many hours on the CNC, day after day, and eventually we finished on the CNC. Our next steps were to connect the painted legs and to add the felt.
Unfourtunately, while we were working on the project, we did not take many photos while we were working, and most of our pictures are taken after completion.
Unfourtunately, while we were working on the project, we did not take many photos while we were working, and most of our pictures are taken after completion.
This is the table flipped upside down with the legs put in. they aren't screwed in yet but we wanted to see if they would fit and how it would work.
More Struggles
Attatching the legs became another unforseen issue. We were attempting to screw the legs into the pockets we had cut with the CNC. Unfourtunately, the depth of the wood was very, very short. We had to search for any scews that were short enough to fit without poking through the table. We ended up having to buy some new screws and even so, we had difficulties attatching the legs because some of them would just rip out of the table because they weren't long enough to hold well.
Stapling on the felt was challenging, but nowhere near the difficulty of the screws. The main problem was that the staple gun didn't work well and took anywhere from one to ten tries for each staple.
Stapling on the felt was challenging, but nowhere near the difficulty of the screws. The main problem was that the staple gun didn't work well and took anywhere from one to ten tries for each staple.
Finishing the Project
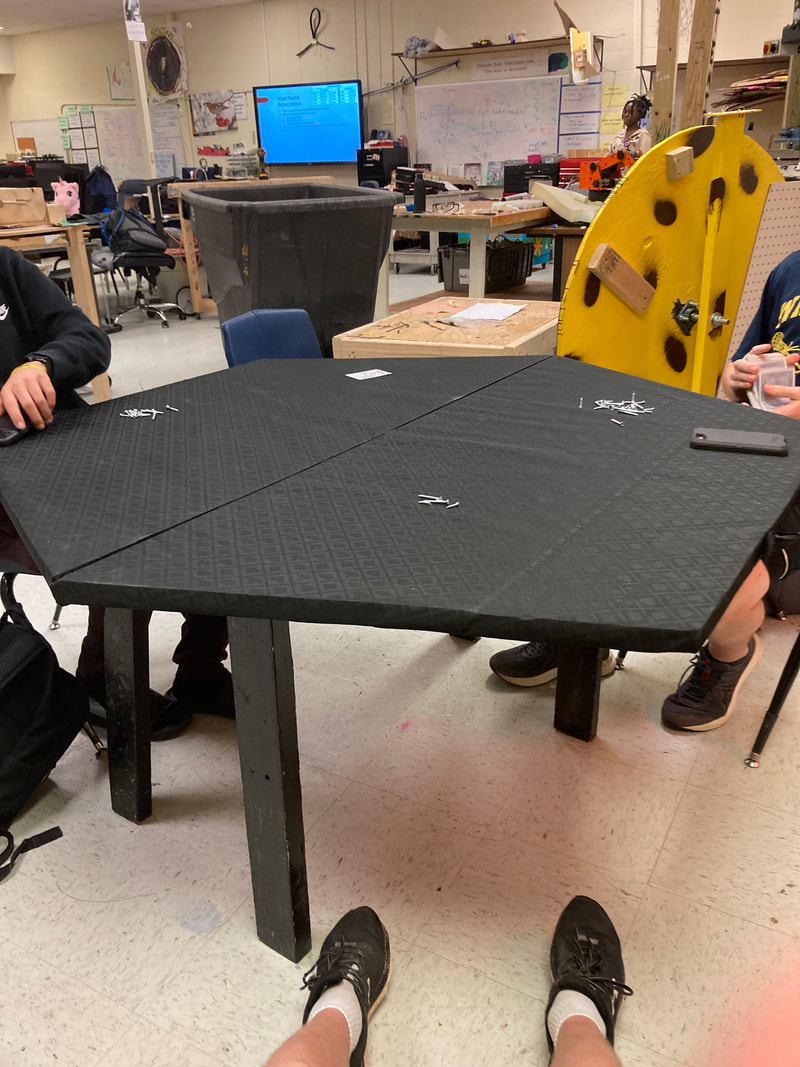
After finally attatching the legs and the felt, our project was finished, although it felt like we still had plenty to do. Here is the finished product:
Final table but at a cool camera angle
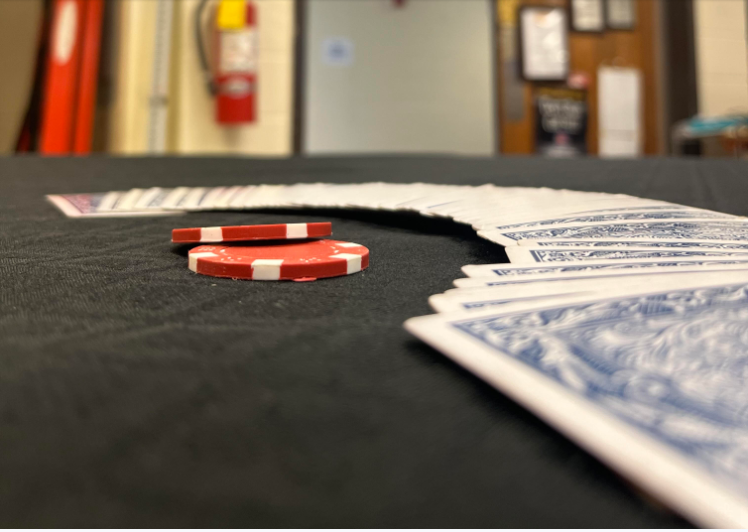
Final table extended while we play poker
|
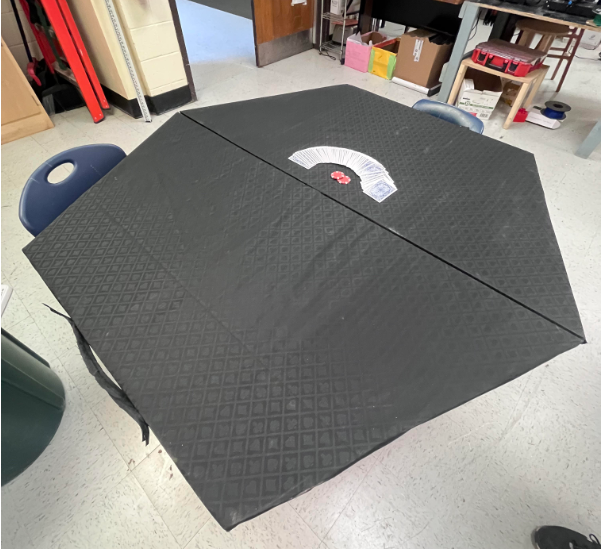
final table fully extended
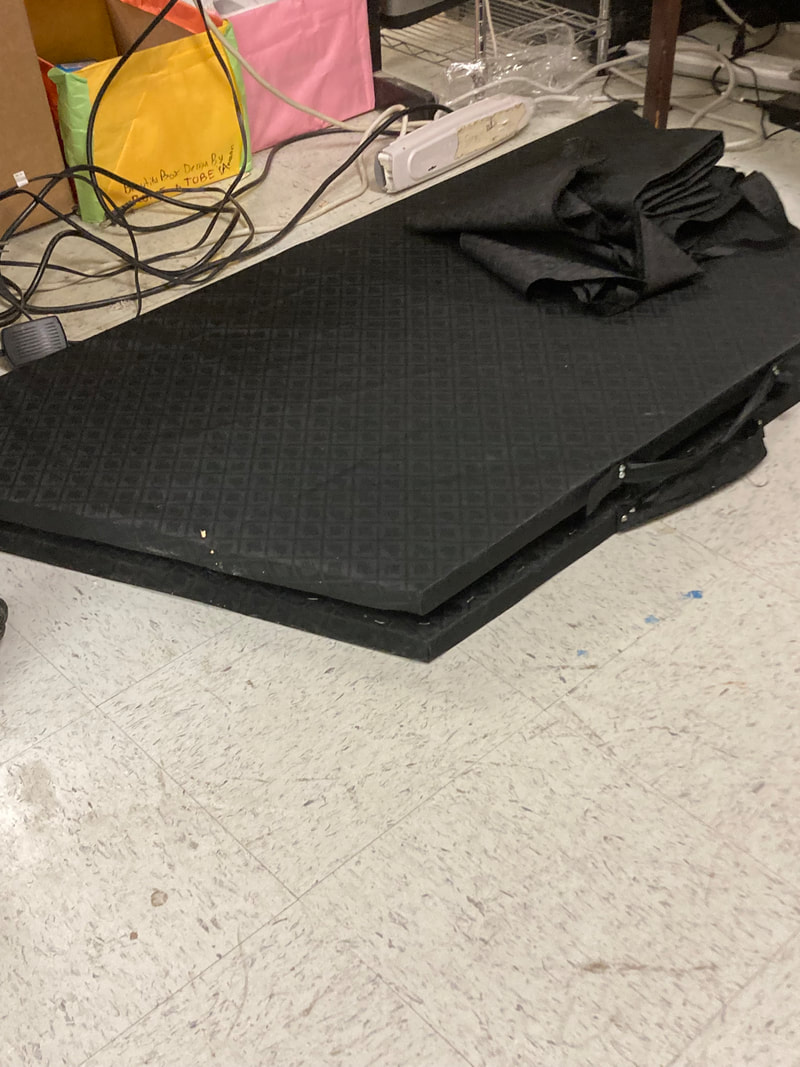
Final table folded up with the legs stored inside
|
Final Evaluation
After using the table for about an hour, it was still standing strong. However, when we went to fold it back up, the screws in two of the legs were loose. When we tried to use it again, those two legs fell off altogether. The screws aren't long enough to grip in the wood and they just rip out of the. We have not come up with a solution to the problem yet, and we decided that we are going to finish with the project because it would be a lot of trouble to attempt to fix the legs after everything else was attatched.
Final Project: Hydraulic Claw
Sam Cary, Nate Aronstein
Inspiration
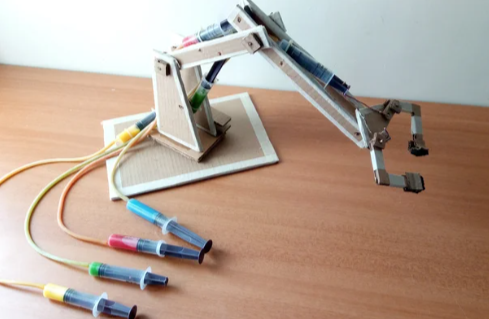
We wanted to do one more project before the school semester, and we asked chat GPT to give us a project and it picked a hydraulic claw. After this, we googled the project and found an example which we modeled our project off of
Example Claw |
|
Goal |
Constraints |
Criteria |
Planning |
|
To create an operational claw mechanism using basic hydraulics principles. The claw would be small enough to fit in a 1 ½ x 1 ½ ft cube.
|
We had only 2 or 3 weeks to do the project and we only had cardboard, syringes, and a few other things that hadn’t been packed up yet
|
Our hope for this project is to make a claw which is controlled by syringes using hydraulics. We will consider the project a success if we can make 2 of the 3 joints of the claw move.
|
We ordered syringes, found good fish tubing, and then we found a good sheet of cardboard from which we could cut out the parts needed to make the claw. We made a list of all the pieces of cardboard we needed and found out how much cardboard we would need.
|
|
|
|
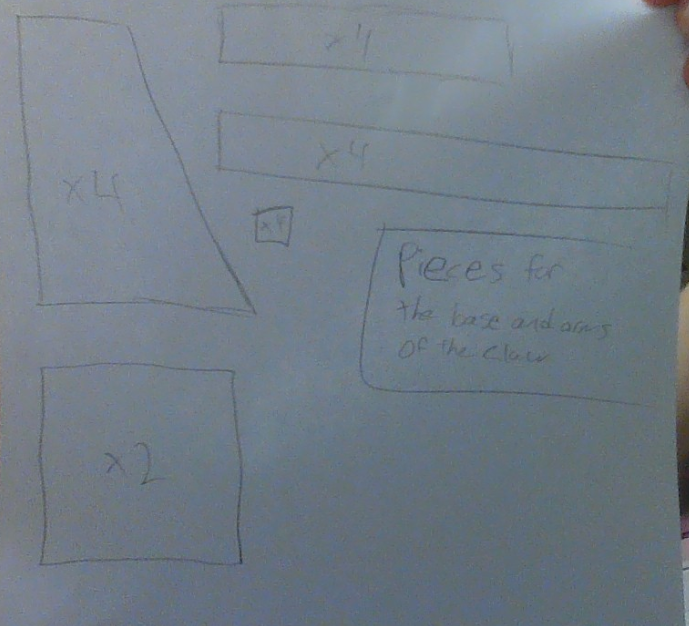
This shows the different cardboard pieces we need to make the base and the arms of the claw
|
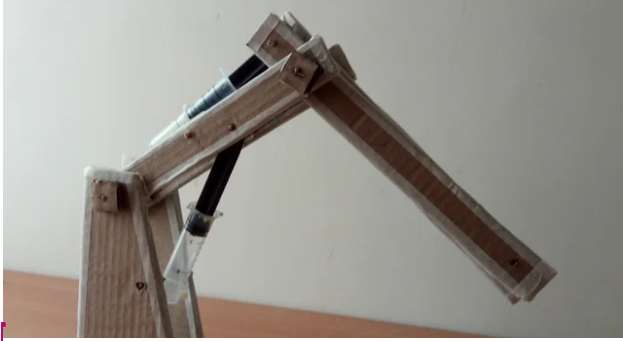
This shows how the syringes will pull the arms. The top syringe pulls the long arm when detracted and the bottom syringe pulls down the shorter arm when detracted
|
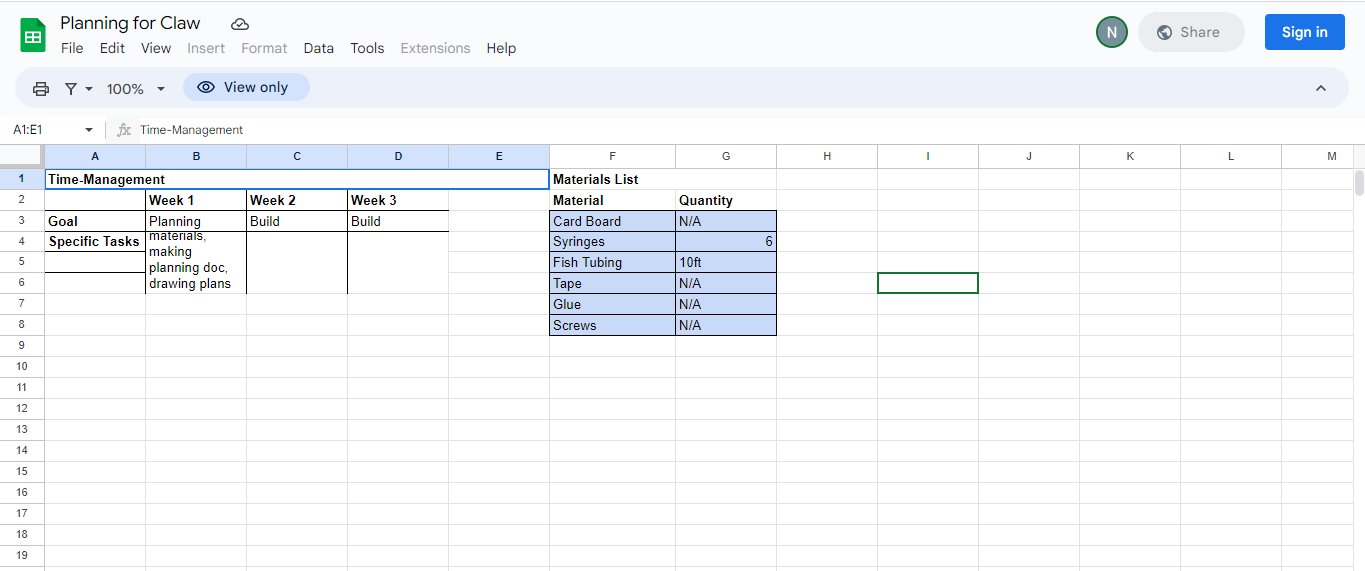
This is the planning document we used for this project, the materials list and time frame
Current Progress
As of right now, we have cut out about half of the cardboard pieces and drilled the holes in the syringes. We are working to finish the project right now and we hope to finish before the end of the school.
